

- Read the documentation on how to create links or track sale conversions.
- Learn how to integrate Dub into your application.
- Reach out to us to feature your integration in the integrations marketplace.
Integrating via OAuth 2.0 (recommended)
Dub supports OAuth 2.0 authentication, which is recommended if you build integrations extending Dub’s functionality. We recommend you use a OAuth client library to integrate the OAuth flow. You can find recommended libraries in a variety of programming languages here.Set up OAuth 2.0
Here is a step-by-step guide on how to set up OAuth 2.0 authentication with Dub.1
Create an OAuth2 application in Dub
- Go to the OAuth Apps tab in your workspace.
- Click on Create OAuth App.
- Fill in the required fields to create an OAuth2 application.
2
Redirect users to authorization URL
When you want to authenticate a user, you need to redirect them to the Dub OAuth authorization URL.Parameters: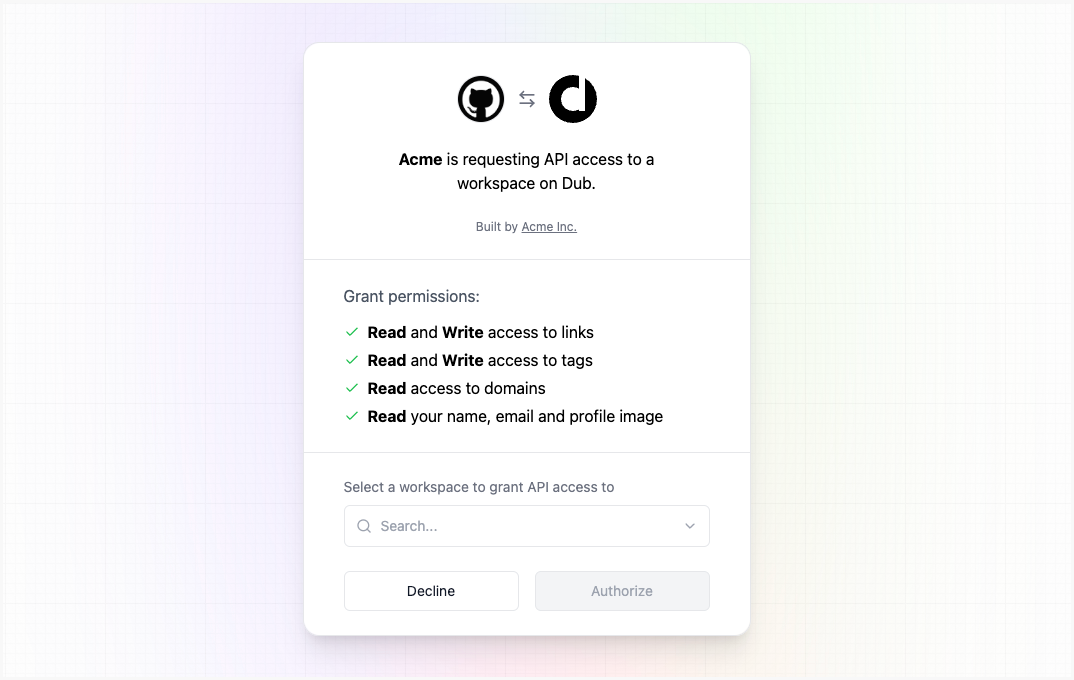
An example URL would look like this:
3
Exchange code for an access token
The Here’s an example using the fetch API:Parameters:We recommend using the PKCE flow for native desktop or mobile application or a single-page app (SPA) where the
code parameter is returned in the query string when the user is redirected back to your application. You can exchange this code for an access token by making a POST request to the Dub OAuth token URL.Response:After a successful request, you will receive a JSON response with the access token.
client_secret cannot be hidden.With PKCE, the client_secret is never sent to the authorization server, preventing the client_secret from being leaked from the client application.Instead of using the client_secret, you will need to generate a code_verifier and code_challenge and use them to exchange for an access token.For example Dub Raycast extension uses PKCE to authenticate users.4
Make an API request with the access token
Once you have obtained a valid access token, you can use it to make requests to the Dub API.You can initialize Dub SDK with the access token.Here is an example of how you can create a link using the Dub TypeScript SDK:Or pass the access token in the header:
Authorization: Bearer <ACCESS_TOKEN>5
Refresh the access token
Dub access tokens are short-lived, depending on the Parameters:This will invalidate the old access token and refresh token.
expires_in value (the default value is 7,200 seconds, or 2 hours). Dub will respond with 401 Unauthorized if you try to use an expired access token.To refresh the access token, you need to make a POST request to the Dub OAuth token URL with the refresh_token you obtained when exchanging the code for an access_token.Response:After a successful request, you will receive a JSON response with the new access token.
Scopes
You can request access to specific scopes when redirecting users to the Dub OAuth authorization URL. Scopes are permissions that the user needs to grant to your application. Dub supports the following scopes for OAuth 2.0:Examples
OAuth 2.0 Example
See the full example on GitHub.